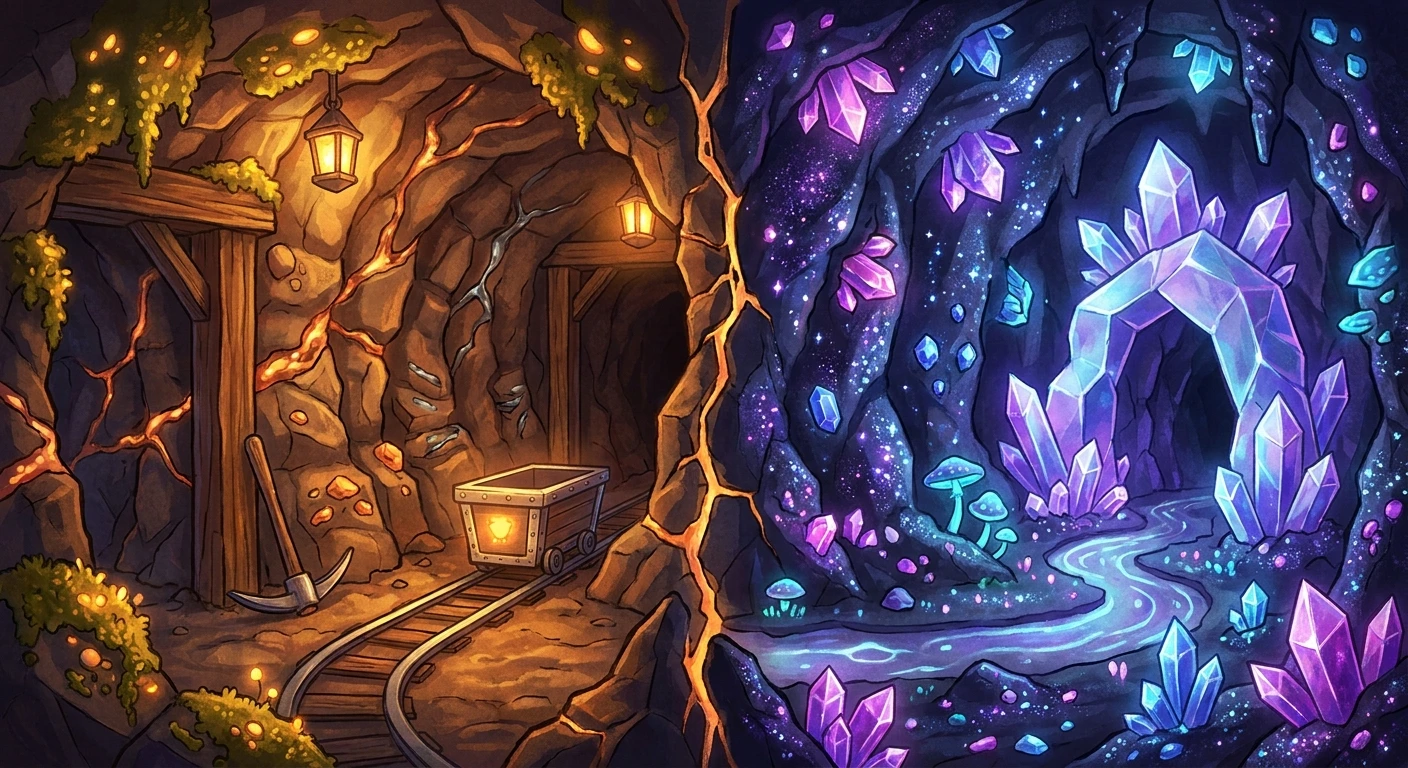
Choosing Between Miner or Geologist Stardew Paths
Reaching level 5 in the mining skill forces you into one of the most debated decisions in the game: picking the Miner or Geologist Stardew profession. Listen, we have all been there. You are standing in your farmhouse in the middle of the night, the level-up screen appears, and suddenly you have to decide the future of your subterranean economy. Should you focus on extracting more base ores to fuel a massive crafting empire, or should you lean into the sparkling allure of doubling your gemstone yields? It is a choice that fundamentally dictates how quickly you can scale your farm’s infrastructure and how you approach the deeper, more dangerous caverns later on.
The thesis here is simple: your farm’s primary money-making strategy should completely dictate this choice. If you are building hundreds of kegs and preserve jars, you need raw metal. If you are farming the Skull Cavern for prismatic shards and setting up endless crystalariums, the gem path becomes significantly more lucrative. I am going to break down every mathematical advantage, late-game consequence, and structural pivot you can make between these two iconic skill branches. Grab your pickaxe and an extra plate of spicy eel, because we are diving deep into the rock-solid facts.
Read also: Valley Combat Guide: Master Tactics and Strategies; Get World Cup Vancouver Tickets Now.
The Core Economics: Ores vs. Gems
When analyzing these two paths, you have to look at the immediate value proposition versus the long-term snowball effect. The Miner profession grants you exactly +1 extra ore per vein. This might sound small, but when standard nodes drop between 1 to 3 ores, a guaranteed +1 is mathematically a massive 33% to 100% increase in your total yield. On the flip side, Geologist gives you a 50% chance for gems to appear in pairs. This includes everything from early-game amethysts to late-game diamonds. Let us look at the structural breakdown.
| Profession Choice | Level 5 Immediate Perk | Level 10 Profession Options |
|---|---|---|
| Miner | +1 Ore per copper, iron, gold, and iridium node | Blacksmith (+50% bar value) or Prospector (Double coal find chance) |
| Geologist | 50% chance for gems to drop in pairs | Excavator (Double geode find chance) or Gemologist (+30% gem value) |
| Strategic Pivot | Best for massive farm infrastructure | Best for pure profit and Skull Cavern diving |
The value proposition of the ore path shines when you look at specific crafting examples. First, consider the humble Keg. Crafting a single keg requires copper and iron bars. If you want a shed full of 137 kegs, you are looking at thousands of raw ores. The extra ore perk makes this grind noticeably shorter. Second, consider the Iridium Sprinkler. Rushing these early in the game requires vast amounts of gold ore and iridium ore. Without that +1 bonus, your time spent grinding the lower mine levels increases exponentially. Alternatively, the gem path offers incredible synergy with the Desert Trader. You can trade rubies for Spicy Eel and jade for Staircases. Doubling your jade drops on a Sunday trade day can literally fund your entire Skull Cavern expedition.
- Infrastructure Scaling: Kegs, Bee Houses, and Preserve Jars all require massive amounts of smelted bars, heavily favoring the ore route.
- Shed Economies: Filling a shed with Crystalariums demands battery packs and iridium, but the output is maximized by the gem perks later on.
- The Coal Bottleneck: Taking the ore-focused path at level 5 allows you to take Prospector at level 10, which solves the agonizing mid-game coal shortage.
Origins of the Skill Tree System
To understand why this choice is so polarizing, we have to look back at the origins of the farming simulator genre. Early pioneers in the genre rarely offered branching skill trees, usually opting for a linear progression system where tools simply became more efficient. When Stardew Valley was developed, the creator wanted players to have distinct identities. The skill tree was designed to reward specialization. Originally, early testers found that mining was merely a chore to upgrade tools. The introduction of the branching path at level 5 turned mining into a primary career option, allowing players to build entire economies around subterranean exploration rather than just watering crops.
Evolution of Mining Mechanics
As the game went through massive updates, the balance between these two professions constantly shifted. In the early days, the ore path was almost universally preferred because crafting was the only reliable way to make serious gold. However, as updates introduced new areas like the Desert, the Skull Cavern, and eventually Ginger Island, the value of gems skyrocketed. The addition of the Desert Trader fundamentally changed the meta. Suddenly, hoarding jade and rubies had a direct, actionable use in surviving the hardest dungeons in the game. The gem path evolved from a niche, shiny distraction into a mathematically sound strategy for late-game dominators who needed hundreds of staircases.
Modern State of the Meta
Today, the community is largely split based on the phase of the current playthrough. The modern consensus suggests that your choice at level 5 is not a permanent life sentence, thanks to the Statue of Uncertainty located in the sewers. Most min-maxers will tell you to start with the ore path to rush your sprinklers and kegs during year one, and then swap to the gem path once your farm is fully automated and your focus shifts to Skull Cavern deep dives. This fluid approach represents the modern state of the game, where adaptability trumps rigid loyalty to one specific profession.
Algorithmic Ore Generation
Let us get slightly technical and look under the hood of the game’s code. When a rock or node spawns on a floor, the game runs a complex algorithm based on the floor number, your daily luck stat, and your specific skill buffs. For standard ore nodes, the base drop rate is typically a randomized integer between 1 and 3. When you possess the Miner profession, the algorithm simply appends a strict +1 modifier to the final output string before the item is instantiated in the world. This is not a chance-based buff; it is a hard-coded addition. Because the base yield is so low, this flat addition creates a disproportionate mathematical advantage. In the early game, reducing the number of nodes you need to break by up to 50% also saves precious energy and time, which are your two most heavily constrained resources.
Gem Node Probability Matrix
Conversely, the Geologist profession operates on a probability matrix rather than a flat addition. Whenever you break a gem node, or when a gem spawns randomly from a standard rock, the game rolls a virtual 100-sided die. If the result is 50 or below, a duplicate of the generated item is spawned instantly. This applies to surface-level forageables in the mines like Quartz and Earth Crystals as well. Understanding the precise mechanics behind these drops can drastically alter your strategy.
- Quartz Duplication: The perk applies to Quartz found lying on the ground, meaning you can rapidly accumulate refined quartz for lightning rods and quality sprinklers without spending coal.
- Geode Exclusion: It is crucial to understand that the level 5 gem perk does not double the geodes themselves. You must wait for the level 10 Excavator perk for that specific benefit.
- Daily Luck Independence: The 50% duplication chance is a static boolean check; it is completely unaffected by the Fortune Teller’s daily luck forecast or luck-buffing foods.
- Node Spawning: Gem nodes have a higher chance of spawning on floors ending in 1 or 2, making elevator-hopping a mathematically viable farming strategy.
Your Step-by-Step Guide to Mastering the Mines
If you want to perfectly optimize your subterranean economy, you need a structured plan. Here is a definitive, stage-by-stage guide to navigating the profession tree effectively.
Step 1: Evaluating Your Farm Setup
Before you even hit level 5, look at your farm layout. If you are planting hundreds of crops and dreading the watering can, you need sprinklers. Acknowledge this immediate bottleneck and prepare your mind to select the ore-heavy route to save your early-game stamina.
Step 2: Rushing the Early Levels
Spend your first rainy days purely in the mines. Focus on breaking copper nodes and ignoring monsters when possible. Reaching level 5 quickly gives you the massive advantage of the extra ore just as you transition to the iron-rich floors of 40 through 79.
Step 3: Hoarding Copper and Iron
Once you secure the first ore perk, dedicate entire days to repeating floors 21 and 41. Your goal is to stockpile hundreds of copper and iron ores. You will use these for basic sprinklers, tappers, and kegs. Do not sell raw ore; its value as a crafted good far outweighs its shipping price.
Step 4: The Mid-Game Shift
By the time you reach the bottom of the local mines, you should be approaching level 10. If you stuck with the ore path, select Prospector. The double coal drop rate from dust sprites on floors 40 to 60 will single-handedly power your massive smelting operations without forcing you to buy overpriced coal from the blacksmith.
Step 5: Gem Duplication Strategies
If you opted for the alternative path, start hoarding jade and rubies immediately. Place your first few Crystalariums down and replicate jade. You do not need to ship these. Store them in a chest until you unlock the desert, setting up a massive stockpile for future deep dives.
Step 6: The Skull Cavern Transition
Once your farm is automated with iridium sprinklers, your need for raw metal plummets. At this stage, your primary focus shifts to acquiring Prismatic Shards, auto-petters, and endless iridium from deep desert runs. This requires staircases and bombs.
Step 7: Changing Professions at the Sewer
This is the ultimate secret. Take 10,000 gold to the Statue of Uncertainty in the sewers. Reset your mining skill overnight. Switch your path from the early-game ore focus to the late-game gem and geode build. Now you have the best of both worlds: early infrastructure and late-game wealth generation.
Debunking Common Mining Myths
There is a lot of misinformation floating around community forums regarding these mechanics. Let us clear up the facts.
Myth: The ore path becomes completely useless in the late game.
Reality: While its utility drops off once your farm is automated, you will always need iron for bombs and copper for random crafting recipes. It is never completely useless, just less optimal than gem hoarding.
Myth: The level 5 gem perk doubles the contents inside Geodes when you crack them.
Reality: Absolutely not. The profession only affects gems dropping from nodes in the wild. The contents of a geode are predetermined by your game seed and are completely unaffected by your skill tree.
Myth: You are permanently locked into your choice.
Reality: As mentioned, unlocking the sewers gives you unlimited access to the Statue of Uncertainty. You can change your profession every single day if you have the 10,000 gold to spare.
Frequently Asked Questions
Does the extra ore perk apply to Iridium?
Yes. The +1 modifier applies to iridium nodes in the Skull Cavern, making early desert runs slightly more lucrative for raw bar production.
Does the gem perk work on Prismatic Shards?
Yes. If a Prismatic Shard drops from a mystic stone or an iridium node, there is a 50% chance it will duplicate, granting you two shards at once.
Which path is better for making pure money?
In the long run, the gem path combined with the level 10 value bonus yields significantly more raw gold when shipping items directly.
Does the Prospector coal bonus stack with the Burglar Ring?
Yes. Wearing the Burglar Ring while having the Prospector perk turns dust sprites into absolute coal-producing machines.
Do bombs trigger the profession perks?
Yes. Destroying nodes with cherry bombs, standard bombs, or mega bombs still applies all your skill tree modifiers to the dropped loot.
Can I find duplicate geodes with the level 5 gem perk?
No, you need the level 10 Excavator perk to double your geode find rate. The earlier perk only affects actual gems and forageable minerals.
Should a beginner choose ore or gems?
Beginners should almost always choose the ore path. It simplifies the crafting process and reduces the early-game grind for sprinklers and tool upgrades.
Conclusion
Deciding between the Miner or Geologist Stardew pathways ultimately comes down to timing. Use the ore route to build your foundation, and swap to gems when you are ready to conquer the deepest caverns. Get out there, start swinging your pickaxe, and maximize your farm’s potential today! Check your skills tab right now and plan your next big mining expedition.